Friday, November 29, 2013

Something tattered blog Hop

Welcome to the First Annual Something Tattered Holiday Blog Hop!
If you came here from Trisha's blog, then you are on the right track. If not, head to the Something Tattered Blog for the full blog roll.

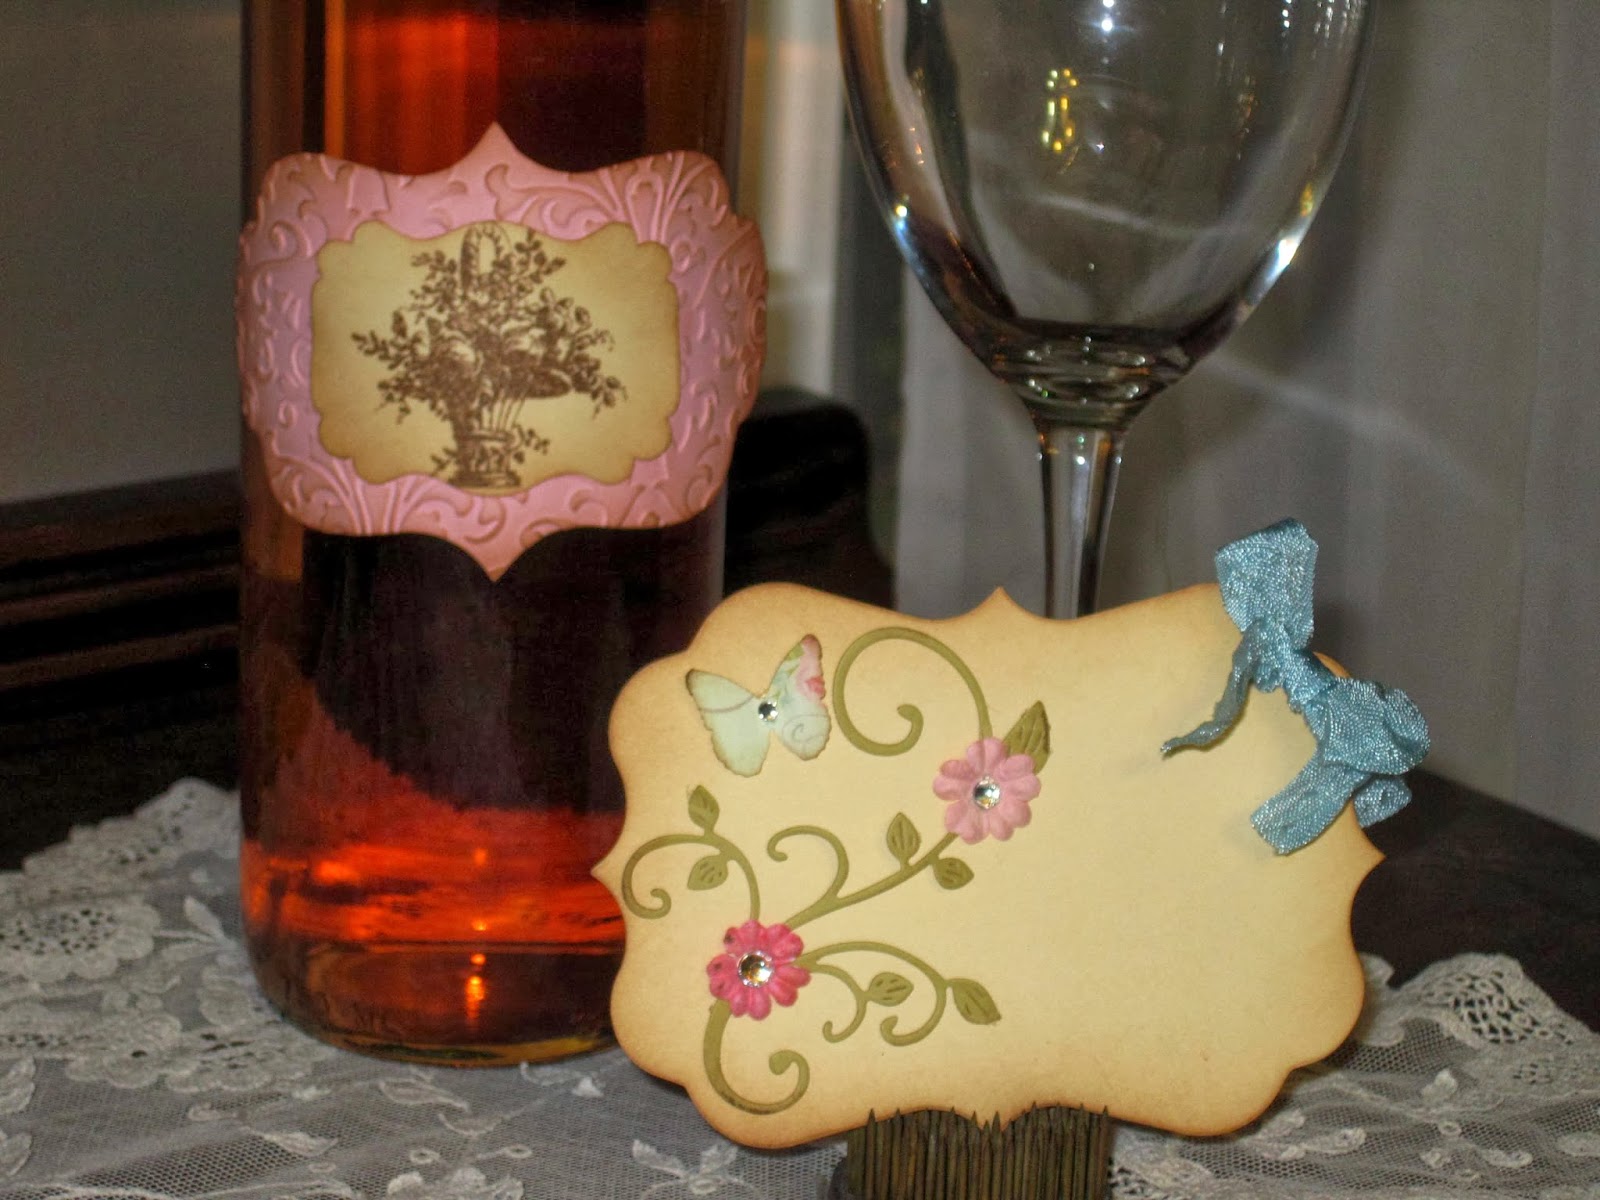
We are so excited to share our creations using the gorgeous vintage style stamps created by Beth Neumann. Our Design Team has been hard at work crafting their Holiday projects for you to see! We hope that you will be inspired and want to try some of these beautiful and elegantly detailed stamps for yourself!

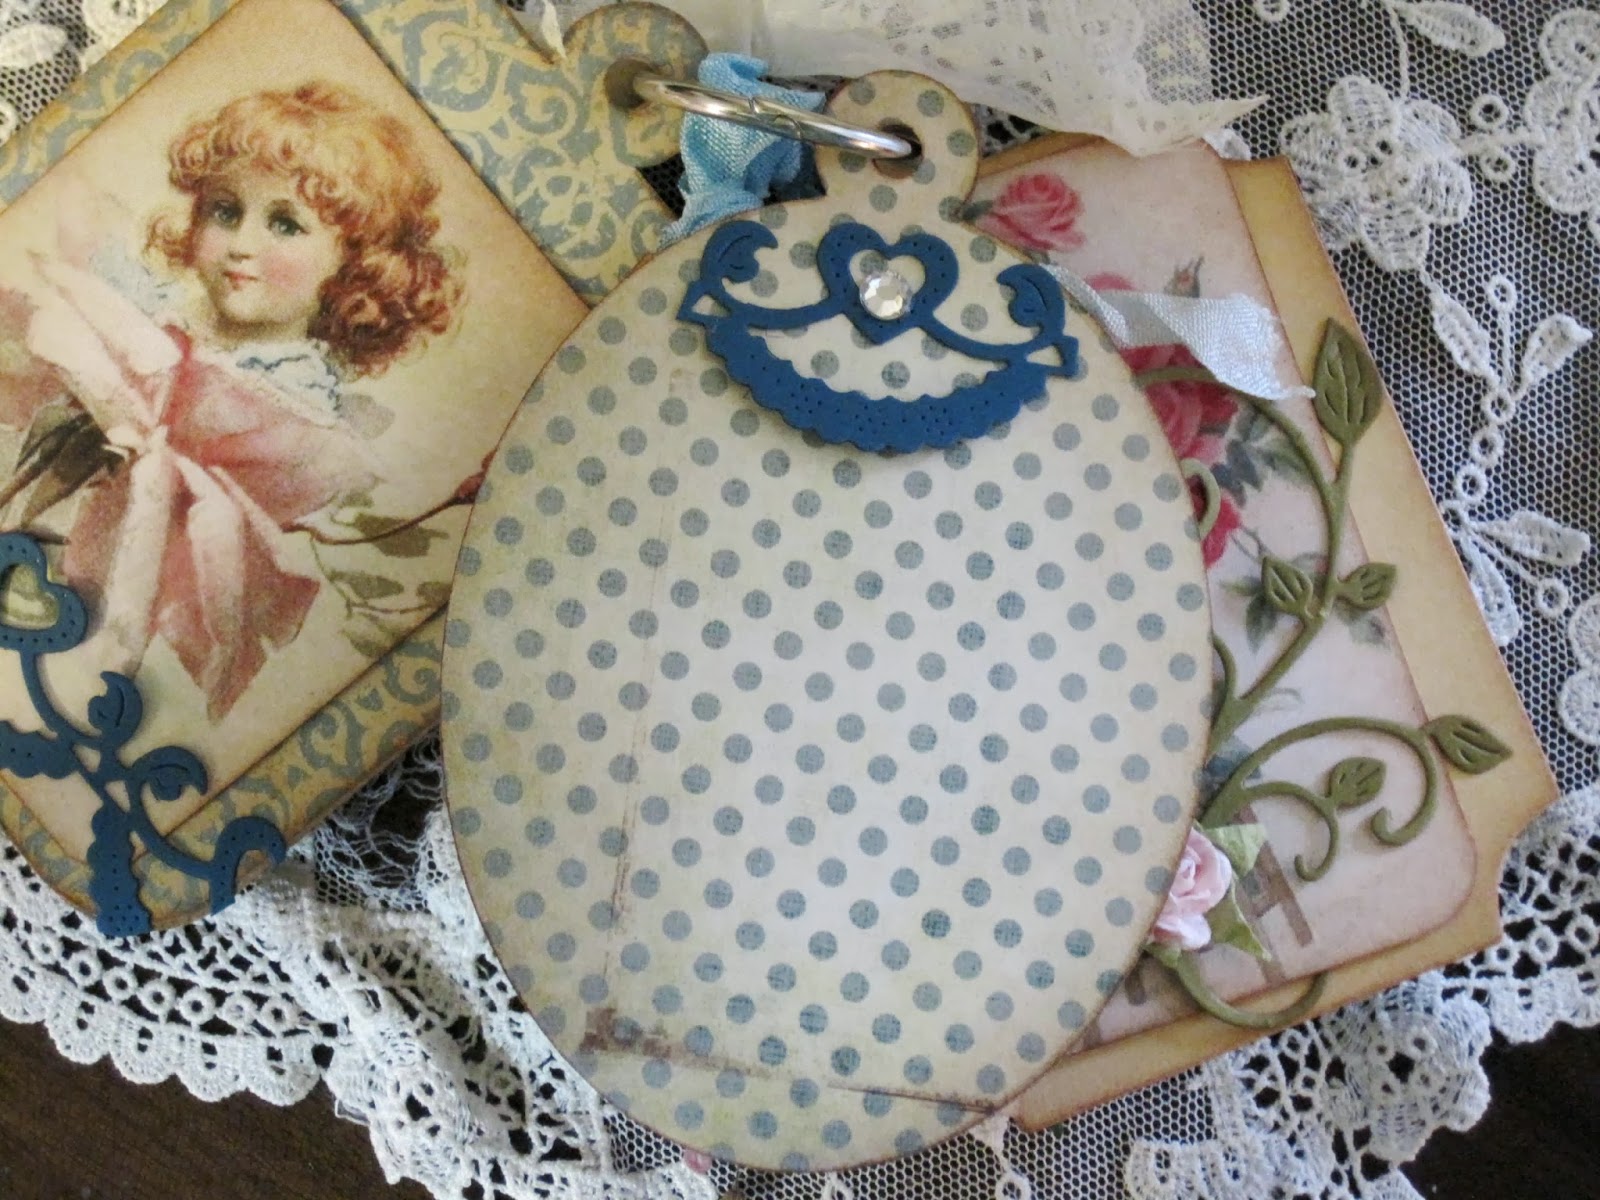
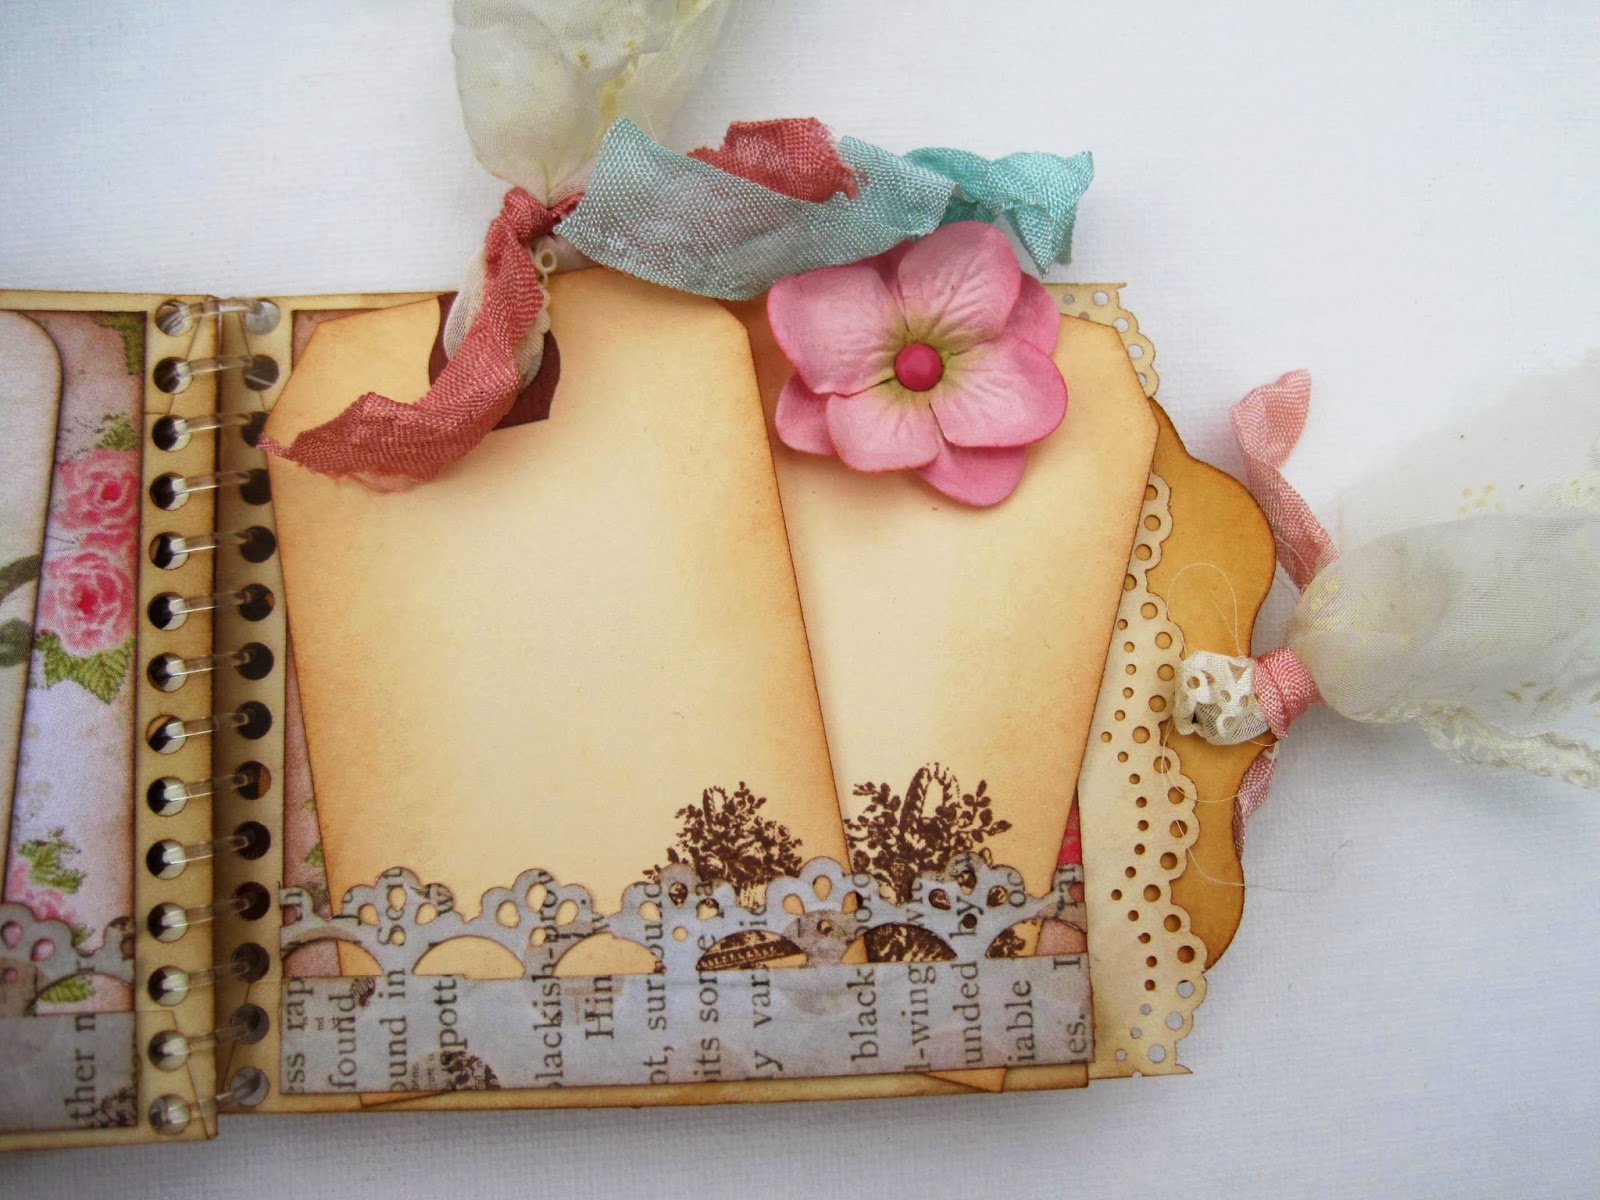
I made a little Christmas mini album using many of the stamp sets. I love the vintage feel of them!


There will be a chance to win a monogram set of your choice for every blog that you visit and complete the steps below.
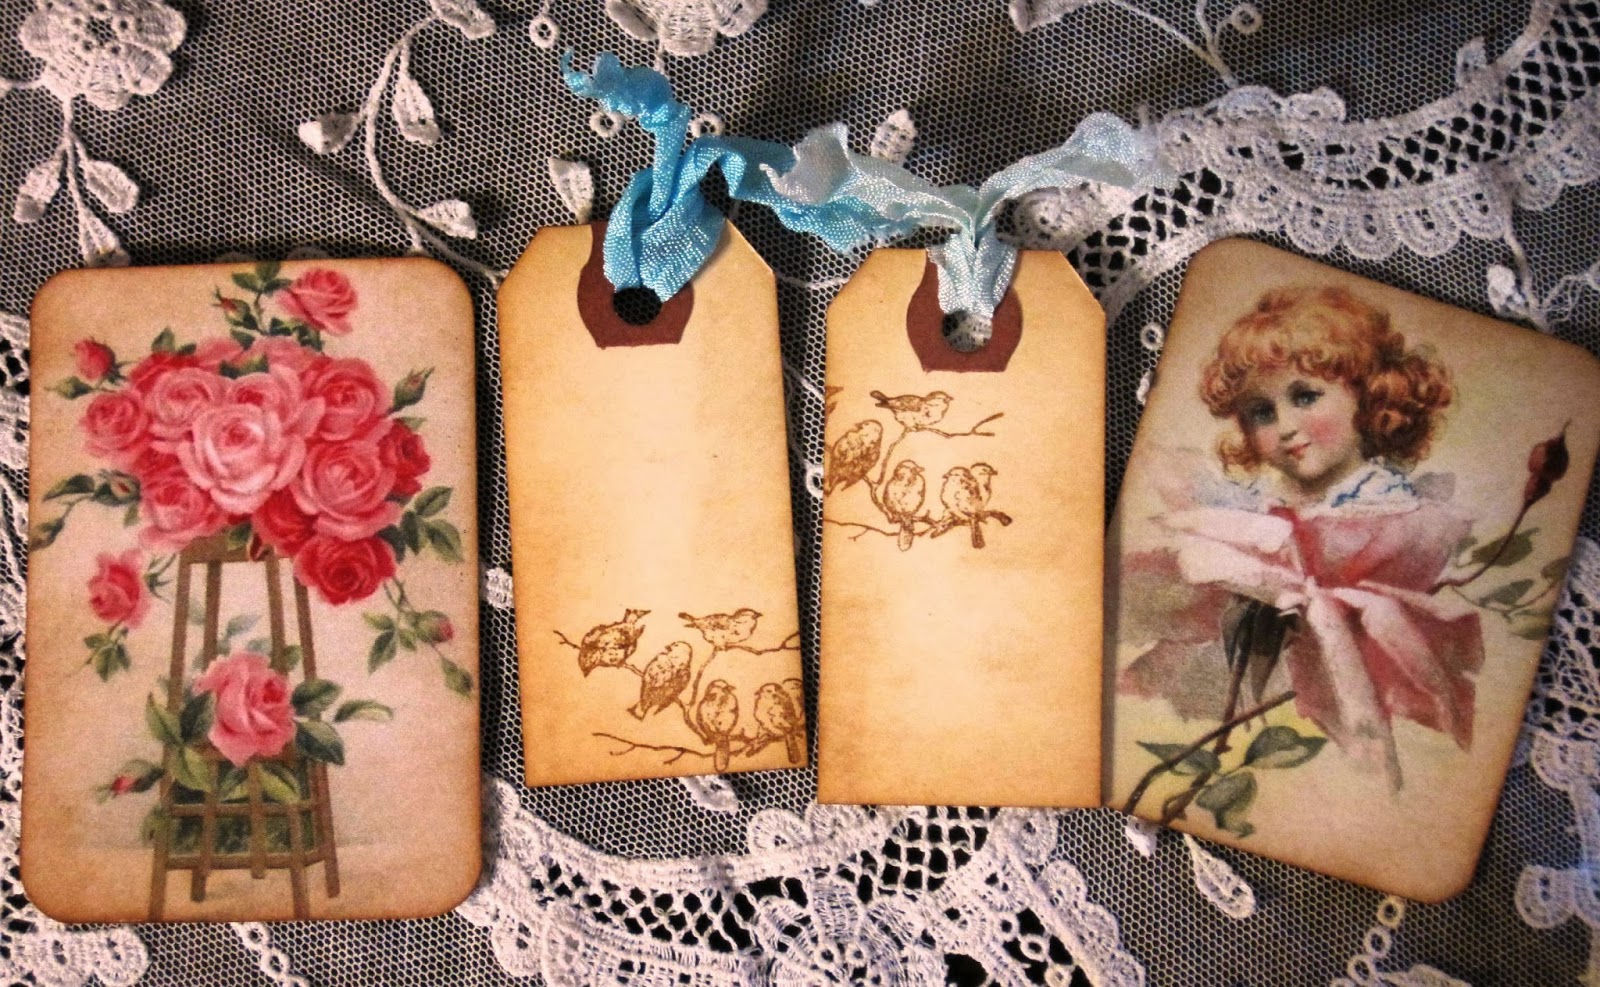
Here are some examples:

 https://www.etsy.com/listing/160146649/something-tattered-letter-a-initial?ref=shop_home_activehttps://www.etsy.com/listing/160138508/something-tattered-letter-b-initial?ref=related-2
  https://www.etsy.com/listing/160150166/something-tattered-letter-n-initial?ref=shop_home_active&ga_search_query=nhttps://www.etsy.com/listing/160151763/something-tattered-letter-s-initial?ref=related-6


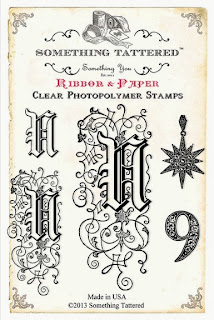
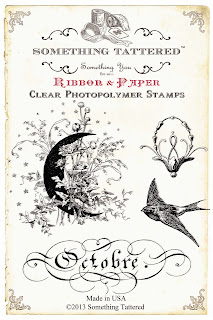
The Grand Prize is a complete set
of French Months Stamp Sets!

Here are some examples and you can see the entire set here.


 https://www.etsy.com/listing/166546403/something-tattered-june-juin-french?ref=shop_home_activehttps://www.etsy.com/listing/163312374/something-tattered-october-octobre?ref=shop_home_active


 Grab a mug of something warm and yummy and start hopping!
 The Blog Hops ends at Midnight, Monday, December 2,2013
 To play along:

1. Become a follower of the Something Tattered blog
2. Visit each Designer's blog and become a follower if you are not already.
3. Leave a comment on each blog so we know you were there!
4. Enjoy the projects!
4. If you have a blog,post our button on your blog (see sidebar on Something Tattered Blog)
5. Like our Facebook Page  and let us know you completed the hop!


One winner will be selected at random from each blog and all participants that complete the hop will be eligible to win the Grand Prize!

Your next stop on our Holiday Hop
 is blog after you

If you lose your way here is the entire Blog Hop Order:
                               Misty <-- You are here 
go here next -->Vicky

Have a happy hop and  Happy Holidays!

Wednesday, November 27, 2013

Make your Hostess Gift Stand out with an Altered Wine Bottle and Pretty Tag

 Hello Friends!
  Tis the season for many, many hostess gifts! Make your stand a part with a little personalization! This was a quick project that adds a little wow to the standard bottle of wine, or really any goodie you may be gifting to your hostess (or host, I don't want to leave you men out!)

Just remove the label from your bottle of wine...I was lucky, we don't drink this kind, so it's been sitting in the wine cooler for years and the label just fell off lol


 I used an embossing folder to get the texture on the label, (just ran it through my eBosser) and then stamped this beautiful image with a Something Tattered stamp. So incredibly easy. I adhered it to the bottle with Crafters Companion tape runner. I love that stuff!


The tag was super simple as well! I just cut my flourish and added the flowers and butterfly.
I am so in love with this Cheery Lynn Die. it is so delicate, and so my style. I could probably use it on every project I make lol


The little butterfly was made with a Martha Stewart punch. I love to add butterflies to my tags. i bend the wings up slightly to add a little dimension..
You can add that extra touch for very little effort.
Thanks for Peeking!
Visit me at my blog at 


Thursday, November 21, 2013

Pretty Planners on Facebook come join us if you love your Filofax, Frankin Covey or your homemade binder!

 Hello Friends!
  I just wanted to let you know that I'm starting a new Facebook Group calle Pretty Planners! I hope you'll join me on this new adventure.
 I am so loving using a daily planner and making it pretty. I have a Personal size Filofax that I'm using as a wallet. It makes me smile every time I take it out and see the pretty dividers or accessories I made.
It's not often that you get use something on a daily basis that you've created :)


The group will be about all things binder! Planning tips, decorating, ...there will even be a photo album where you can sell or swap your binders.
Please come join in the fun!

Wednesday, November 20, 2013

Binder clip turned shabby chic Table place setting name plate Holder for Weddings, Parties Etc...

 Hello Friends!
This is a super easy project that will dress up your party or event and make great guest gifts. It starts with the humble binder clip!
 Just wrap the bottom with design paper. i just used regular tape runner and it worked great. Then I added the little image and flower. Everything is inked with Vintage Photo Distress Ink. I tied the 2 little arm thingies (Yes, that is what they are called) with crinkled seam binding,
 Last I cut this beautiful doily die cut with my eBosser. the die is made by Cheery Lynn and is so intricate....I love it! The center is a scalloped circle from a punch. That's it! Easy Peasy Lemon Squeazy!


Thanks for peeking! 
If you have a minute, come by and visit my blog!

Wednesday, November 13, 2013

 Hello Friends!
  As you may know, I've become a little obsessed with everything Filofax! Sooooo, today's Craftwell Design Team project is a divider I made for my very first Filofax. (I've collected quite a collection in a short time)  It's a beautiful leather pocket Richmond that I scored (for $18.00 with shipping!!!) on Ebay! I love it! The leather is so soft....anyway, back to what I was saying lol.
  The divider is very shabby chic and feminine and I think it balances the masculinity of the black leather really well.
I used my eBosser to emboss the Victorian shaped mat. Then I trimmed the edge off and punched the holes. Next I inked it all up with Vintage Photo distress ink (of course lol)

I cut the doily and key with Cheery Lynn Dies. They are wonderful!
Sophia's Heart Mini Doily DL238 and
Lock and Keys B350
Then I tied a bit of seam binding onto the key and added a digital vintage image.

So, that's it! Pretty easy project that makes an everyday object pretty!
Thanks for peeking and please visit my store if you get a chance.

Wednesday, November 6, 2013

Shabby chic Sweet little keychain mini using Cheery Lynn Designs Dies

 Hello Friends! I have a sweet little mini I made with Cheery Lynn Designs Dies and My eBosser. I have to say, these dies are amazing! The detail is incredible and I wasn't fitting with the die all the time trying to get all the little pieces out. So, here it is!


Front view

back view


Front cover Pocket Watch Die B362
This die is beautiful! I made the die cut and then layered over a vintage image...then added some flowers


I made a little pocket with the Sophia's Heart Border B333
It's a 7 1/8" x 7/8" die that I cut down.
(For some reason the color is looking a lot more blue that what it is)
Then I just tucked a sweet little image in it.
Everything is inked with Vintage Photo Distress Ink

Pocket without the image....a picture can be added here.

Again, I cut the border and added a little rhinestone. The bottom isn't glued down, i left it open so a picture can be slid under it.

The butterfly pocket was made using Dripping Butterfly DL266
I inked it and glued just the tips of the wings and the tails.
I stamped the tags with a Something Tattered stamp from The January set and then tied them with seam binding.

Page without the tags.

This "pocket" was made with the die Mini Fanciful Flourish B117S
Again glueing just the tips to allow me to slide the image in. You can add a picture to the back of the image, or use the space for journaling.

You could also add a Photo here.

The back cover is inked and simple :)

Those little birds are so sweet!

Thanks for peeking!
Cheery Lynn Designs: http://www.cheerylynndesigns.com/

Monday, November 4, 2013

Shabby Chic Library pocket mini album using Something Tattered Stamps

  Hello Friends! 
 Today I'm excited to show you my first Something Tattered Design Team Project. It's a little library pocket mini with lots of tags and pull outs.

                                            http://www.zibbet.com/shabbybeautiful
 The album itself is one of my coil bound Library pocket albums. I punched the top of the pockets with a Martha Stewart punch. I love that antique reticulated look!
Side view

I tied crinkled seam binding to the coils and added some pretty trim to the side of the digital vintage image.


The little tag is stamped with a stamp from a Something Tattered stamp set (I'll list the stamp sets at the bottom of the post)
I stamped the images with Memento ink and inked everything up with Vintage Photo Distress ink.


The key is a die cut made with a Cheery Lynn die, so pretty! I layered a little fussy cut digi image on top and slid a vintage image under the key. this can be pulled and used as a journal card or a picture mat. there's plenty of room underneath for another picture as well.

I made a little pocket with a small cherub image. Tucked behind it is a shipping tag with a beautiful chandelier stamp from the Something Tattered Stamp set 

Without the pull outs

Simple pages with photo mats and flowers. Love the look of the stamped tags sticking out of the pockets.


Pockets are made from strips of design paper punched with a Martha Stewart punch.


Without pull outs


Thanks so much for peeking! 

Something Tattered C'est Vous Chandelier Clear Stamp Set

                  Something Tattered Dress and Tiara Clear Stamp Set


              Something Tattered Basket of Roses TABLE Clear Stamp Set


              Something Tattered C'est Vous Chandelier Clear Stamp Set


               Something Tattered March Mars French month Clear Stamp Set

         Something Tattered August Aout French month Clear Stamp Set

                       https://www.etsy.com/shop/SomethingTattered

                                                      http://shabbybeautiful.blogspot.com/